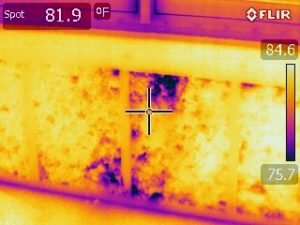
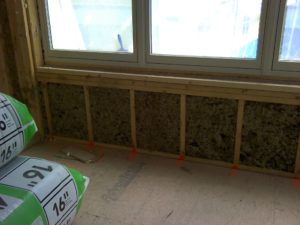
Once the exterior wall insulation was completed, our LEED Rater, Mark, came by to do another blower door test and IR examination of the insulation. Our goal was to identify any spots where insulation was missing, and fix any air leaks before installing drywall. We heated up the house overnight and then started early on a cool Monday morning, so as to get the maximum temperature difference between indoors and outdoors to make it easier for the IR camera to find any air leaks. This time we set up the fan in the door to the garage and sealed off the front door. After making sure all the unfinished ducts were taped off and the windows latched shut, Mark fired up the fan and started to draw a vacuum on the building.
Seeking to make the house as tight as possible, the team went around the house using the IR camera and smoke sticks to find air leaks, drafts, or areas that needed more insulation. The first video shows the smoke streaming in one direction when sprayed into the corner, meaning there’s a draft there be sealed. The second video shows Mark using the laser pointer on the IR camera to highlight a spot with a lower temperature (meaning less insulation) so the contractor can touch it up with spray foam.
Even though this second pass through the house caught a few small leaks, it wasn’t really necessary. Our results were even better than our first test in July, when we achieved about 0.75 ACH50. In fact, the excellent efforts by the construction and insulation crews cut our leakage by over 50%, to just 0.35 ACH50! For reference, this is about 1/10thof the code requirement for new homes, and well below the challenging Passive House air leakage threshold. Total air leakage was about 442 cubic feet per minute, which is equivalent to air leakage through a hole approximately 8” x 8” spread out over the entire surface area of the building. This is an extremely airtight house, which will lead to huge benefits in thermal comfort, energy efficiency, and good indoor air quality, among others.


