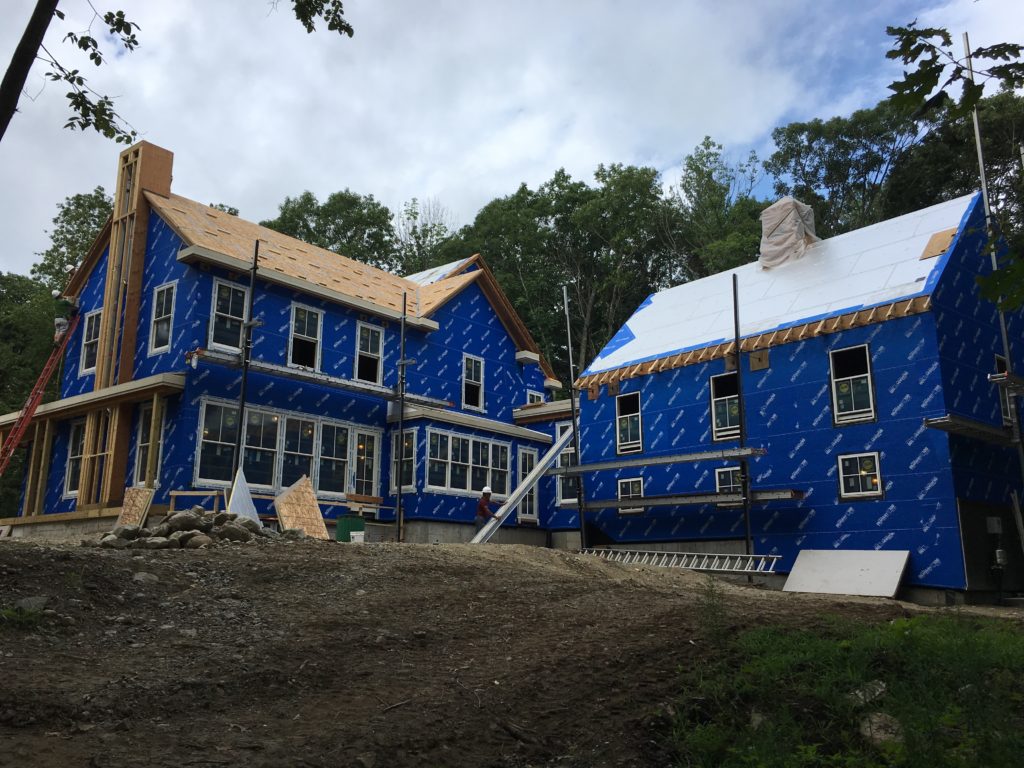
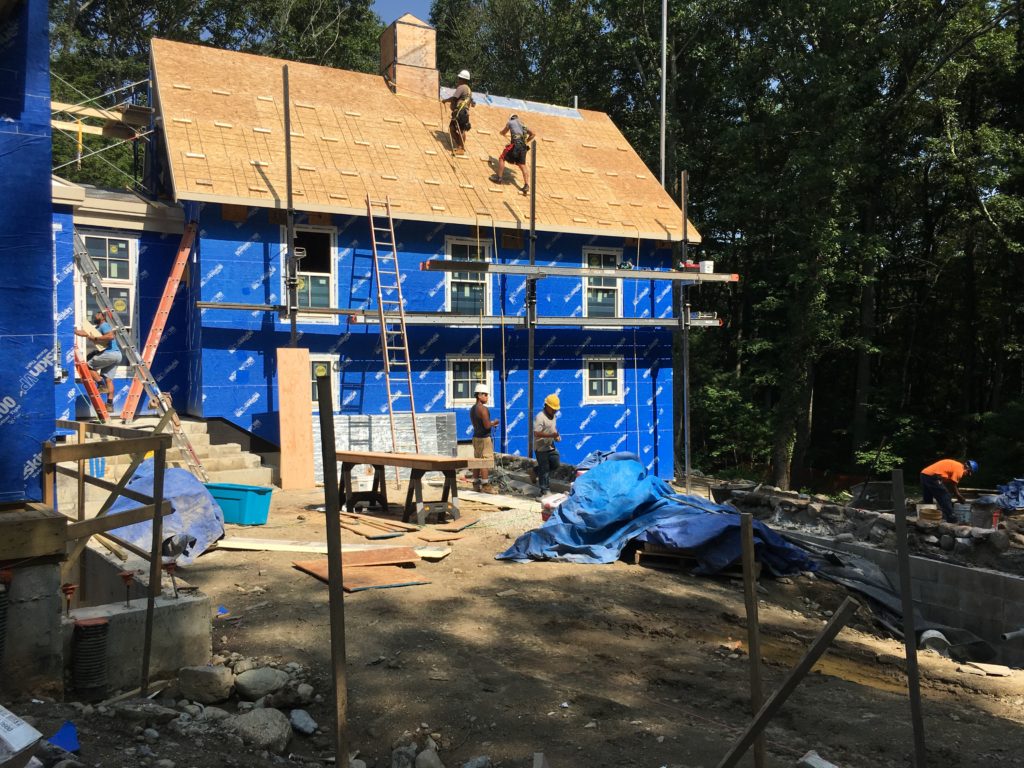
Our roof is a complex system of multiple layers of waterproofing, insulation, and structural supports for the solar PV array that will get mounted later. We reframed the existing roof with new 2×12 rafters and a new ridge beam to provide structural support, and carried that same design through the new sections of the house. That means we have a roof capable of supporting the heavy loads of snow, shingles, insulation, and the solar panels. Then we put down plywood roof sheathing followed by a 2” layer of foil-faced foam insulation. We wrapped the house wrap (the “Blueskin”) up over the edges of the foam to form an airtight seal, and then installed soffits that were built in the shop to give the appearance of traditional roof rafters and eaves. While more labor-intensive than traditional roof construction, this detail let us get a very tight seal at the critical roof-wall intersection.
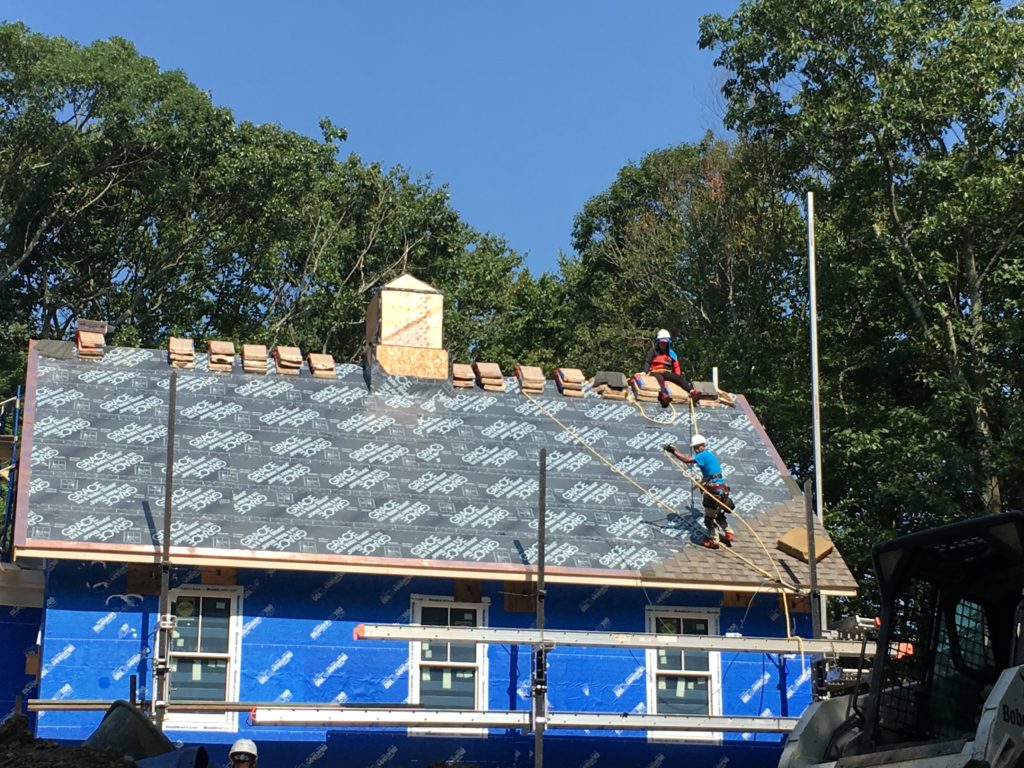
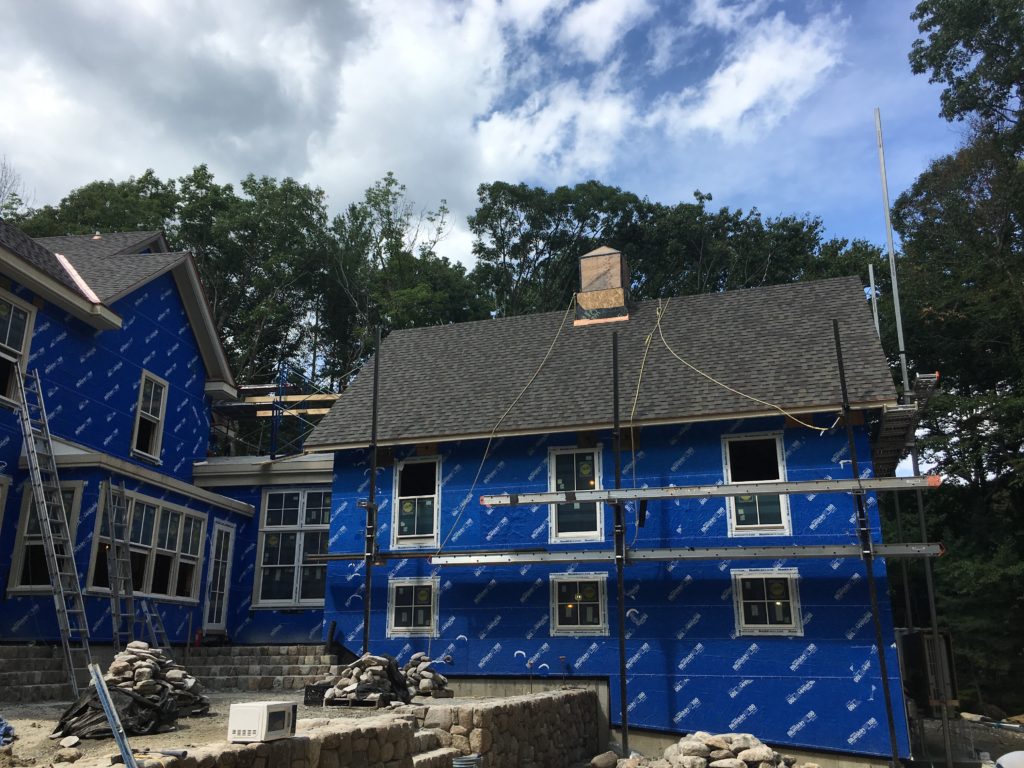
This was followed by a second 2” layer of foam insulation with a wood nailing surface. Once that was installed, the roofing contractor took advantage of a stretch of dry weather to finish the roof off: copper flashing at the edges, intersections, and valleys; a layer of W. R. Grace Ice & Water shield over the entire roof to form a watertight barrier; and then our CertainTeed asphalt shingles on top. Still to come: the copper roofing over the porch, connector, and cupola, and then the gutters and downspouts.
Once we insulate the interior roof rafters with dense-packed mineral wool, we’ll have a tight roof with an insulation R-value over 70, or about 50% above code.